Volumetric Rendering Part 1
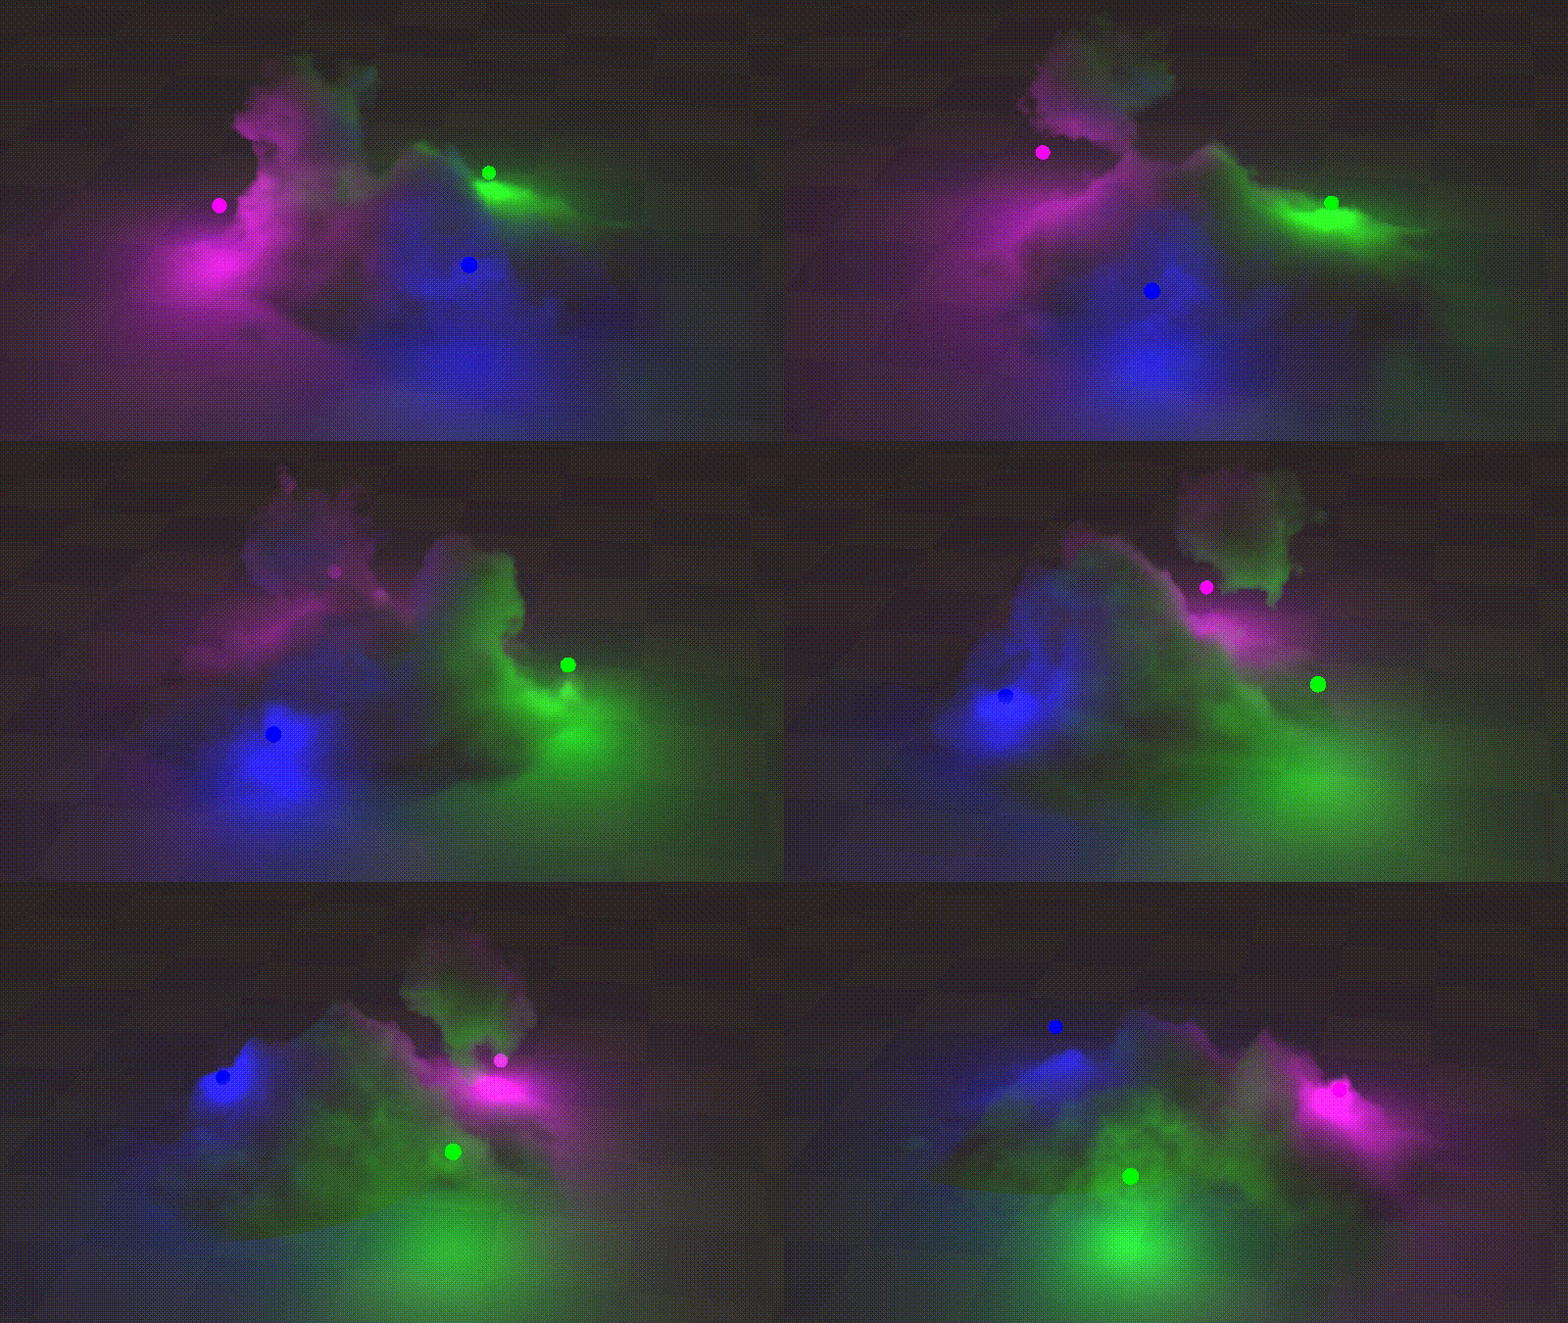
I recently wrote a small ShaderToy that does some simple volumetric rendering. I decided to follow up with a post on how the ShaderToy works. It ended up a little longer than I expected so I’ve broken this into 2 parts: the first part will talk about modelling a volume using SDFs. Part 2 will go into using ray marching to render the volume. I highly recommend you view the interactive ShaderToy yourself here. If you’re on a phone or laptop, I suggest viewing the fast version here. I’ve included some code snippets, which should help get a high-level understanding of how the ShaderToy works but aren’t all-inclusive. If you want to understand things at a deeper level, I’d suggest cross-referencing this with the actual ShaderToy code.
I had 3 main goals for my ShaderToy:
- Real-time
- Simple
- Physically-based…ish
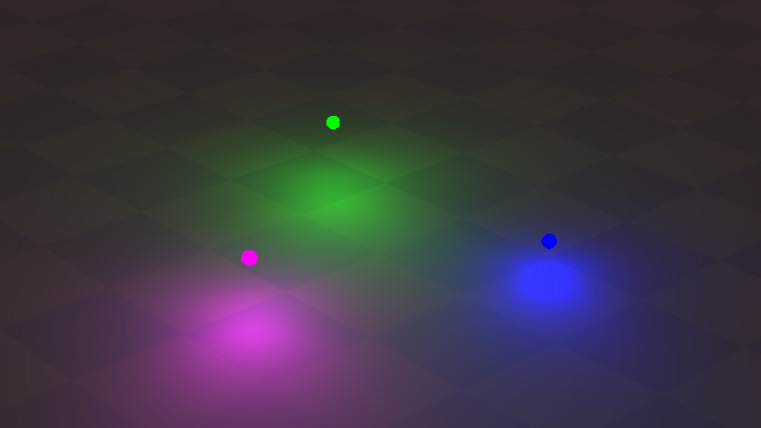
I’ll be starting from this scene with some starter code. I’m not going to go deep into the implementation as it’s not too interesting, but just to give a sense of where we’re starting from:
- Ray trace against some opaque objects. All objects here are primitive objects with simple ray intersections (1 plane and 3 spheres)
- Phong shading is used to calculate lighting, with the 3 orb lights using a tunable light falloff factor. No shadow rays are needed because the only thing being lit is a plane.
Here’s what that looks like:
We’ll be rendering the volume as a separate pass that gets blended with the opaque scene, similar to how any real-time rendering engine would handle opaque surfaces vs translucents.
Part 1: Modelling a volume
But first, before we can even do any volumetric rendering, we need a volume to render! I decided to use signed distance functions (SDFs) to model my volume. Why distance fields functions? Because I’m not an artist and they’re really great for making organic shapes in a few lines of code. I’m not going to go into signed distance functions because Inigo Quilez has done a really great job of that already. If you’re interested, here’s a great list of different signed distance functions and modifiers here. And another on raymarching those SDFs.
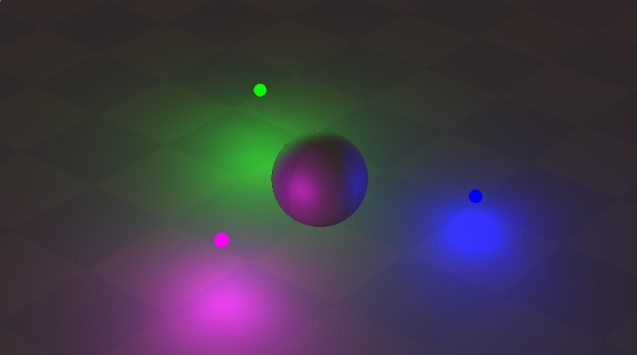
So lets start simple and throw a sphere in there:
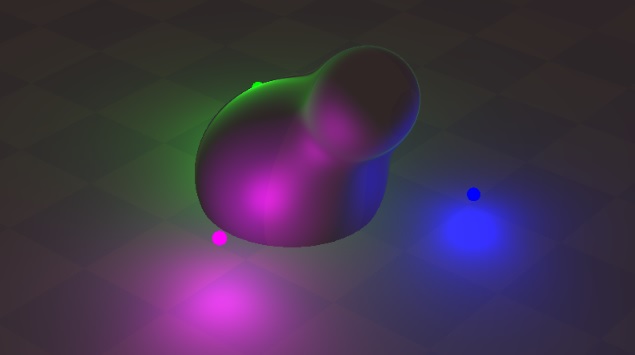
Now we’ll add an extra sphere and use a smooth union to merge the sphere distance functions together. This is taken straight from Inigo’s page, but I’m pasting it here for clarity:
// Taken from https://iquilezles.org/www/articles/distfunctions/distfunctions.htm
float sdSmoothUnion( float d1, float d2, float k )
{
    float h = clamp( 0.5 + 0.5*(d2-d1)/k, 0.0, 1.0 );
    return mix( d2, d1, h ) - k*h*(1.0-h);
}
Smooth union is extremely powerful as you can get something quite interesting by just combining it with a handful of simple shapes. Here’s what my set of smooth union spheres look like:
Okay, we have something blobby looking, but we really want something that’s more of a cloud than a blob. The really cool thing about SDFs is how easy it is to distort the surface by just addding some noise to the SDF. So lets slap some fractal brownian motion (fBM) noise ontop using the position to index into the noise function. Inigo Quilez has us covered again with a really great article on fBM noise if you’re interested. But here’s how it looks with some fBM noise tossed on top:
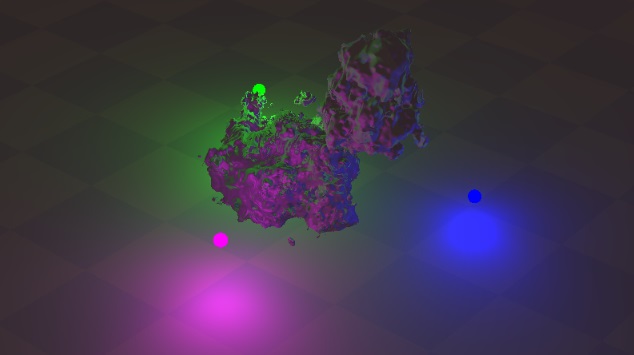
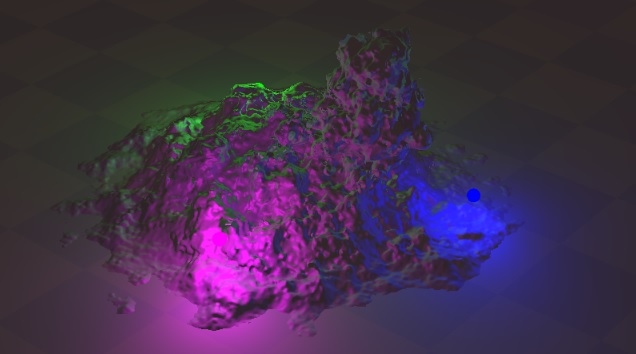
Sweet! This thing suddenly looks a lot more interesting with the fBM noise! Finally we want to give the illusion that the volume is interacting with the ground plane. To do this, I added a plane signed distance just slightly under the actual ground plane and again re-use that smooth union merge with a really aggressive union value (the k parameter). And after that you get this:
And then a final touch is to adjust the xz index into the fBM noise with time so that the volume has a kind of rolling fog look. In motion it looks pretty good!
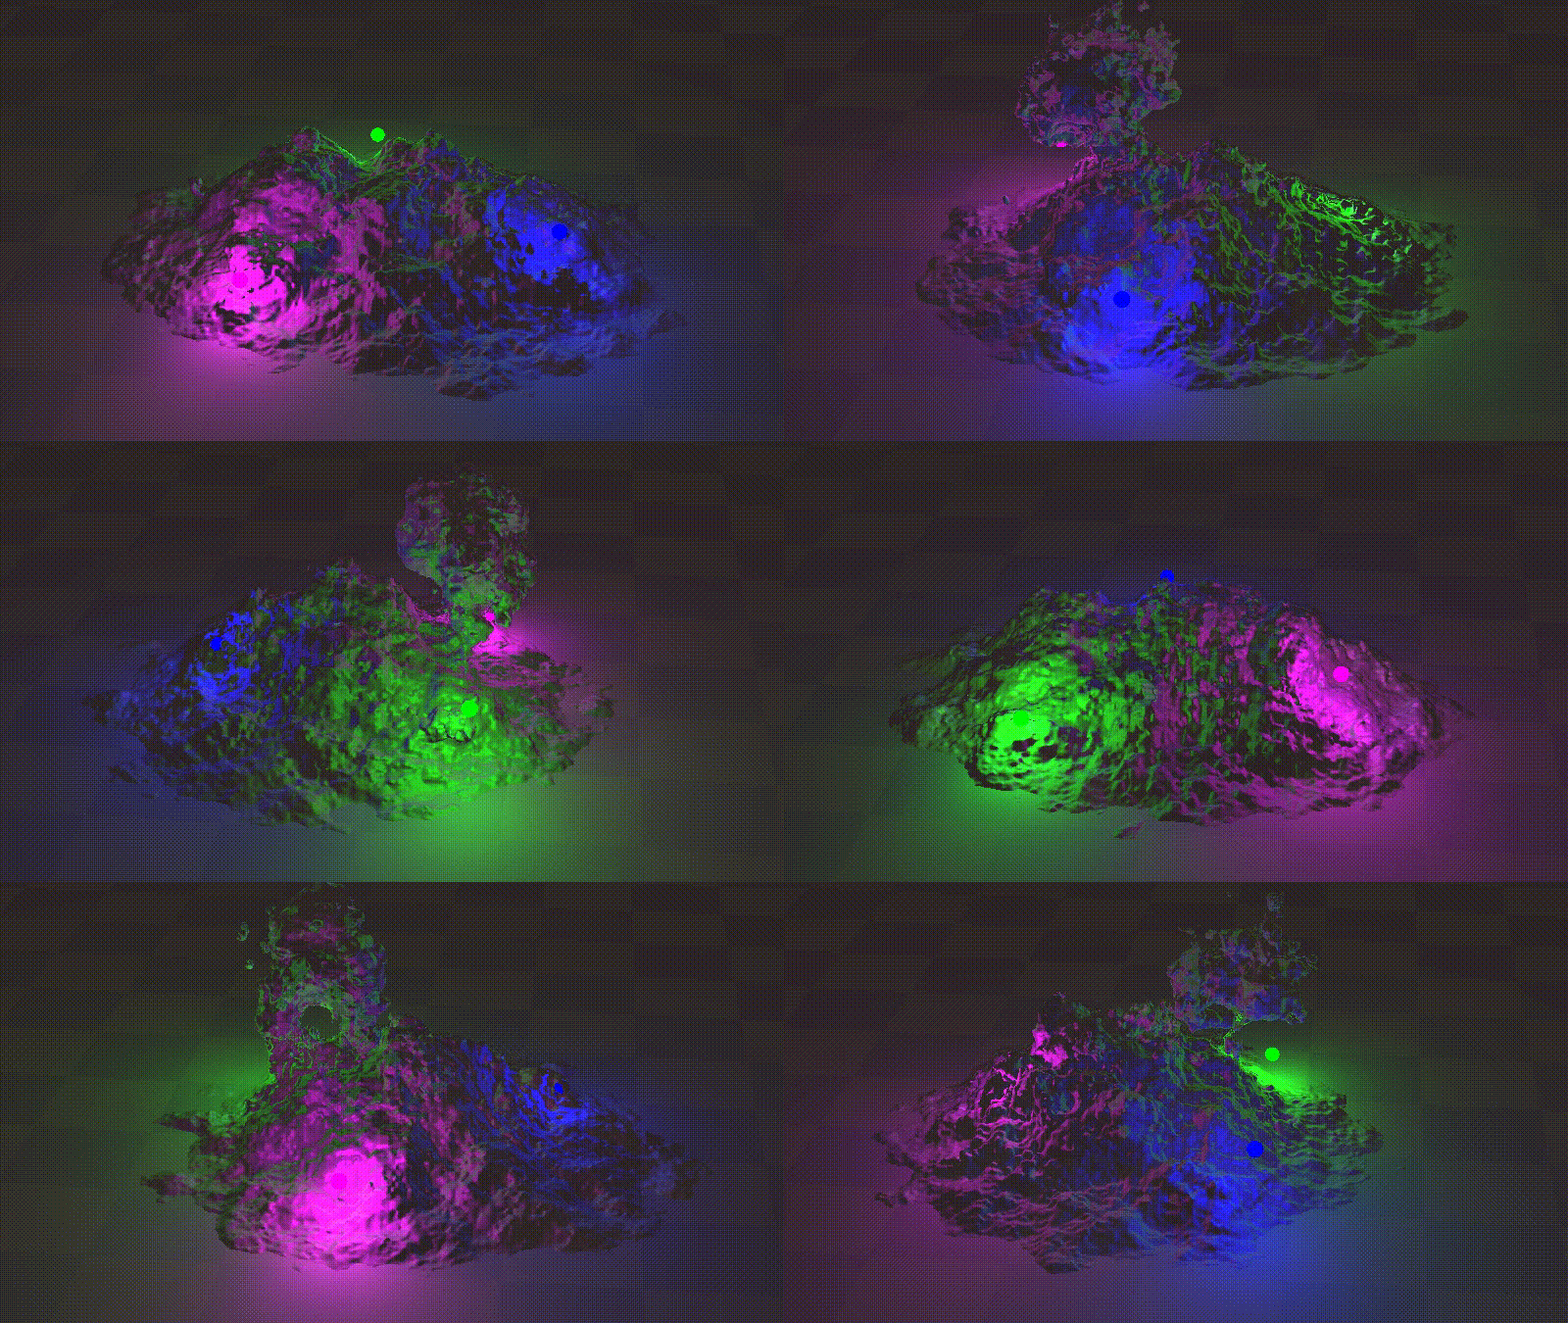
Woohoo, we have something that looks like a cloudy thing! The code for calculating the SDF is pretty compact too:
float QueryVolumetricDistanceField( in vec3 pos)
{
    vec3 fbmCoord = (pos + 2.0 * vec3(iTime, 0.0, iTime)) / 1.5f;
    float sdfValue = sdSphere(pos, vec3(-8.0, 2.0 + 20.0 * sin(iTime), -1), 5.6);
    sdfValue = sdSmoothUnion(sdfValue,sdSphere(pos, vec3(8.0, 8.0 + 12.0 * cos(iTime), 3), 5.6), 3.0f);
    sdfValue = sdSmoothUnion(sdfValue, sdSphere(pos, vec3(5.0 * sin(iTime), 3.0, 0), 8.0), 3.0) + 7.0 * fbm_4(fbmCoord / 3.2);
    sdfValue = sdSmoothUnion(sdfValue, sdPlane(pos + vec3(0, 0.4, 0)), 22.0);
    return sdfValue;
}
But this is just rendering it as an opaque. We want something nice and fluffy! Which leads to part 2!